 Save
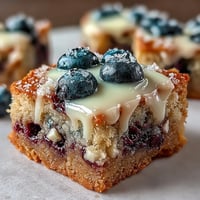
Save The first time I baked these Peanut Butter Easter Egg Cookie Bars, the kitchen filled with a rich, roasted peanut aroma that seemed to cling to the walls long after the oven timer went off. I remember hearing the satisfying crackle of the parchment as I pressed the pastel chocolate eggs into the warm dough, each one sinking slightly like a little treasure. The quiet afternoon sunlight made the candies glisten as I checked for doneness, making the bars look almost too festive to eat. That moment, I realized these bars would become my new springtime staple—not just for their taste, but for the way their color and scent lifted everyone's mood.
One year, I made a tray for our neighborhood gathering and watched kids negotiate for the biggest piece, while grownups lingered by the dessert table pretending to 'just check' the snack situation. It sparked a spontaneous conversation about favorite childhood treats, reminding me that even simple cookie bars can create food memories out of thin air. That night, I found crumbs in the bottom of the pan—no leftovers, just proof these bars were the hit of the evening.
Ingredients
- Unsalted butter: Melting it gives the bars a tender crumb and makes mixing easier—just let it cool a little before using.
- Creamy peanut butter: Use a smooth, no-stir variety for maximum chew and true peanut flavor.
- Light brown sugar: Brings moisture and caramel notes—pack it tightly to measure right.
- Granulated sugar: Adds sweetness and helps crisp the edges beautifully.
- Eggs: Two will bind the dough for a soft center—room temperature helps them blend seamlessly.
- Vanilla extract: Stirring this into the wet mix lifts the whole batch with warm aroma.
- All-purpose flour: Don’t overmix after adding—it keeps the bars from getting tough.
- Baking powder & baking soda: A combo for just enough rise and fluffiness; measure carefully.
- Salt: Balances sweetness and sharpens peanut flavor.
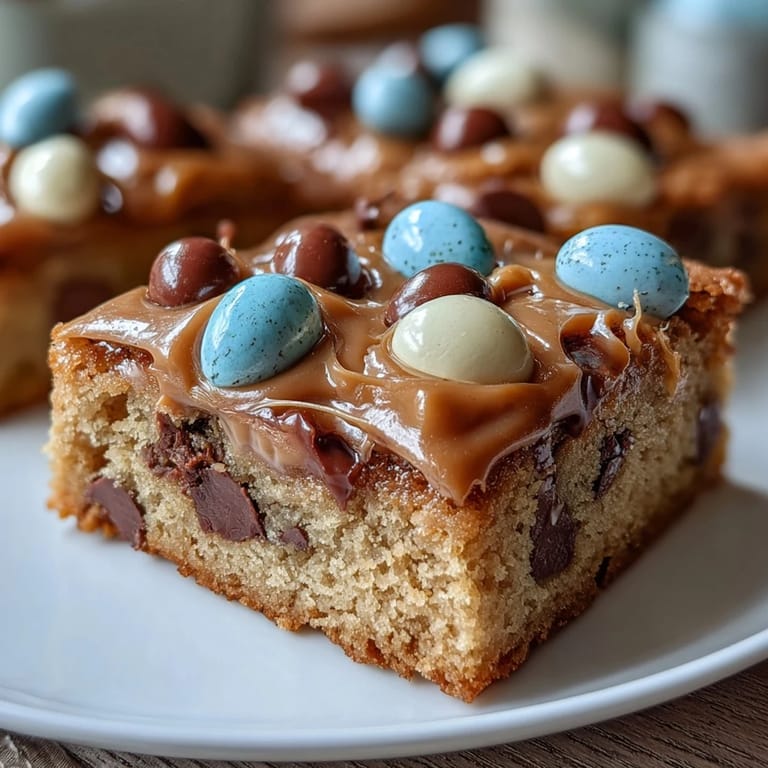
- Easter egg chocolate candies: Sprinkling extras on top makes every square festive and vivid, while the inside candies give pops of crunch.
- Semi-sweet chocolate chips (optional): Layers in extra texture and chocolate pockets if you crave more richness.
Tired of Takeout? 🥡
Get 10 meals you can make faster than delivery arrives. Seriously.
One email. No spam. Unsubscribe anytime.
Instructions
- Prep the Pan:
- Line your baking pan with parchment, leaving a bit hanging over the sides for an easy lift later.
- Mix Wet Ingredients:
- Whisk melted butter, peanut butter, brown, and white sugars in a big bowl until you smell the classic peanut butter cookie scent and the mixture is glossy.
- Add Eggs & Vanilla:
- Crack in eggs and pour vanilla; whisk until no streaks remain and it feels light and smooth.
- Combine Dry Ingredients:
- In a second bowl, stir together flour, baking powder, soda, and salt, noticing the soft, powdery feel.
- Fold Dry Into Wet:
- Using a spatula, gently fold the dry mix into the wet, stopping once the flour disappears so you don’t overwork it.
- Add Easter Eggs & Chocolate:
- Fold in candies and chips delicately—hearing the candies clatter in is always a sign you’re nearly done.
- Spread & Decorate:
- Scrape the thick dough into the pan and smooth it; press extra Easter eggs on top for whimsical color.
- Bake to Perfection:
- Bake in a hot oven until the edges turn gold and the center sets but stays soft—your kitchen will smell fantastic.
- Cool & Slice:
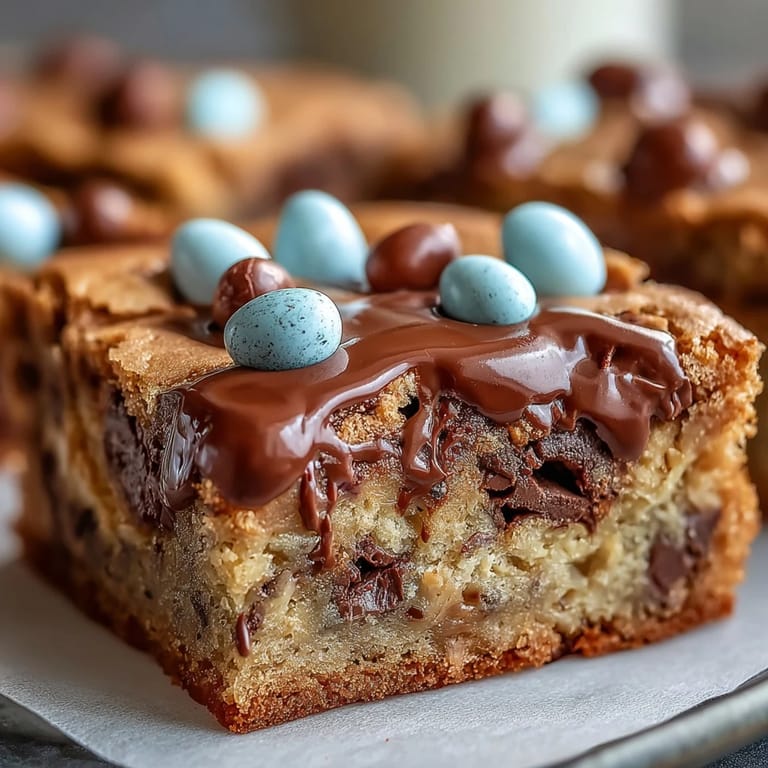
- Let the bars cool fully before lifting them out; cut into squares and admire the candy-studded tops before serving.
 Save
Save The greatest compliment I ever got for these bars came from my dad, who ate one quietly, then went back for seconds without a word. Later, he asked if he could take some home—evidence enough that these treats had earned a place at family gatherings. Sometimes, it's the silent appreciation that means the most.
Springtime Celebrations, Simplified
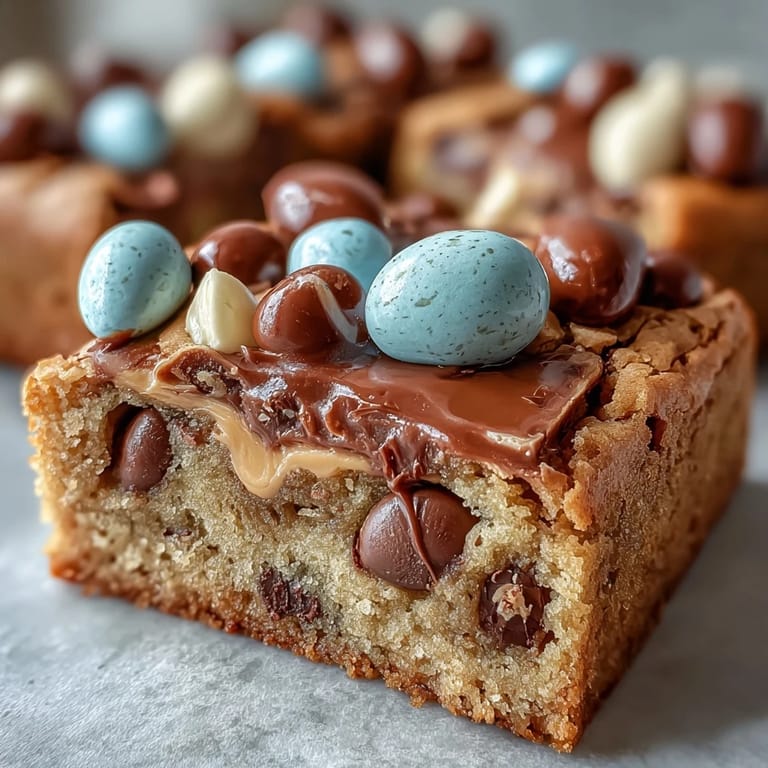
The cheerful colors of Easter egg candies make these bars feel perfect for spring, but the recipe adapts easily with whatever festive chocolate you have on hand. Once, I scattered mini marshmallows over the top for a bake sale and it brought an extra layer of gooey fun—don’t be afraid to experiment with your mix-ins.
Making It Ahead for Easy Sharing
On busy weeks, I prep the dough the night before and refrigerate it, then bake the bars fresh the next day. Chilling the dough overnight deepens the peanut flavor and keeps your mornings stress-free, especially when you’re prepping for a crowd.
Little Tricks for Perfect Cookie Bars
Baking these bars means balancing just-set middles and unmistakably crisp edges, so I keep an eye on the oven once the scent turns nutty and sweet. If your oven runs hot, tent the pan with foil halfway through to avoid overbrowning. Testing with a toothpick in the center is a trick that’s saved me more than once.
- Let the bars cool completely before slicing for clean squares.
- Store in a container with parchment between layers to prevent sticking.
- Change up the candies to fit any celebration.
 Save
Save I hope your kitchen fills with as much warmth and color as mine always does when these bars are in the oven. Share them with anyone you like—the smiles are guaranteed.
Recipe Questions & Answers
- → Can I use different candies instead of Easter eggs?
Yes, you can substitute other chocolate candies for a fun variation or to suit preferences.
- → How do I ensure the bars stay chewy?
Avoid overbaking; remove when edges are golden and the center is just set for a soft texture.
- → Can I add extra peanut butter?
You can drizzle melted peanut butter over cooled bars for extra flavor and richness.
- → Are these bars suitable for vegetarians?
Yes, the bars are vegetarian as long as candy ingredients are checked for animal products.
- → How should I store the bars?
Keep bars in an airtight container at room temperature for up to 4 days to maintain freshness.
- → What tools are recommended for making these bars?
A baking pan, mixing bowls, whisk, spatula, and parchment paper help with efficient preparation.