Save
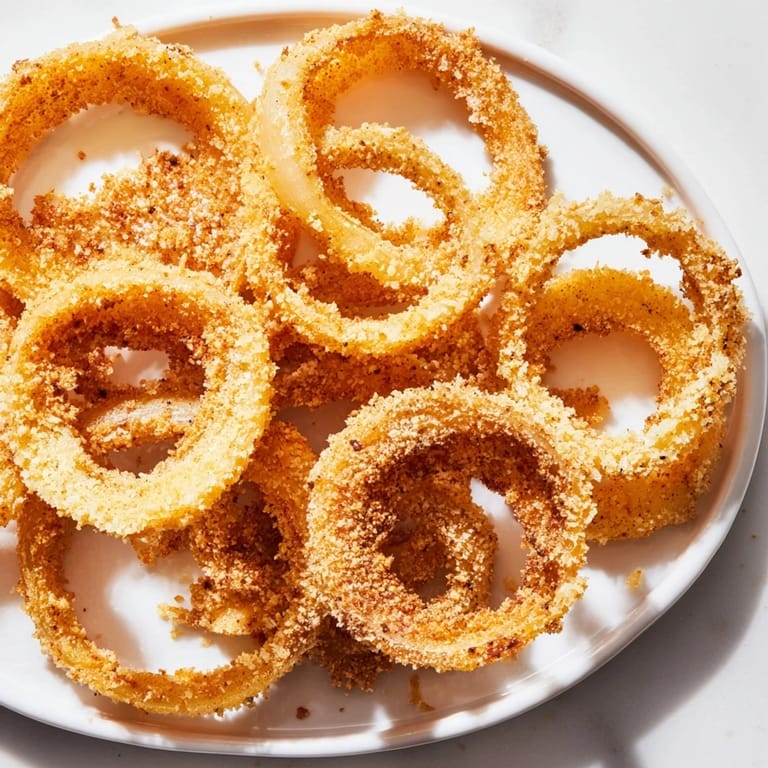
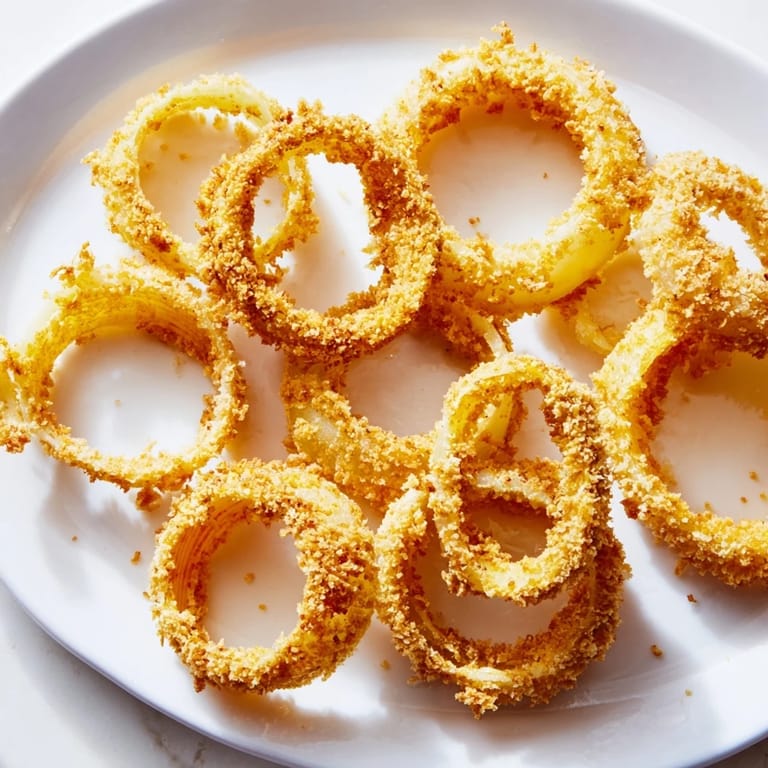
Save My uncle used to make onion rings at his burger stand, and I'd watch mesmerized as he dunked those golden circles into bubbling oil—they'd emerge crispy and perfect every single time. Years later, I finally asked him his secret, expecting some complicated technique, but it was surprisingly simple: cold sparkling water and the courage to let the oil do its job. Now I make them the same way, and that same magic happens in my own kitchen.
I remember making a huge batch for my roommate's game night and watching people reach for a third, then fourth ring before even looking at the dip. That's when I knew I'd cracked it—there's something about homemade onion rings that store-bought can never quite match, maybe because they're still warm and the steam inside hasn't escaped yet.
Ingredients
- 2 large yellow onions: Slice them into thick 1/2-inch rings so they stay substantial and don't disappear into the batter.
- 1 cup all-purpose flour: The foundation of your batter, giving it structure without being heavy.
- 1/2 cup cornstarch: This is what makes them shatteringly crisp—it fries up differently than flour alone.
- 1 teaspoon baking powder: Creates tiny air pockets that make each ring light and airy inside.
- 1 teaspoon salt, 1/2 teaspoon paprika, 1/2 teaspoon garlic powder: Flavor is already built into the coating, so you don't need fancy dipping sauces to make them sing.
- 1 cup cold sparkling water or beer: The cold temperature keeps the batter light and bubbly—this is non-negotiable.
- 1 cup panko breadcrumbs (optional): A second breading layer for those moments when you want extra crunch.
- Vegetable oil for frying: Use a high smoke-point oil and keep a thermometer nearby.
Tired of Takeout? 🥡
Get 10 meals you can make faster than delivery arrives. Seriously.
One email. No spam. Unsubscribe anytime.
Instructions
- Separate and prepare:
- Pull those onion rings apart gently—they'll want to stick together, so take your time. Let them sit for a minute while you move on to the batter.
- Mix the dry ingredients:
- Whisk flour, cornstarch, baking powder, salt, paprika, and garlic powder in a bowl, making sure there are no lumps hiding at the bottom. You want everything evenly distributed.
- Build the batter:
- Slowly pour in that cold sparkling water, whisking as you go until you reach a consistency like thick pancake batter. It should cling to a ring but drip off slowly—if it's too thick, add a splash more water.
- Heat your oil:
- Get it to 350°F and let it stabilize there for a minute. Too cool and they'll absorb oil; too hot and they'll brown before cooking through.
- Coat and fry:
- Dip each ring in batter, let the excess drip off for just a second, then carefully lay it in the oil. Work in batches so the temperature doesn't drop and the rings have room to move around.
- Watch for the golden moment:
- Turn them occasionally as they fry for 2–3 minutes—they'll go from pale to amber to deep golden. That transition happens fast, so stay close.
- Drain and rest:
- Fish them out with a slotted spoon and spread them on paper towels. This is when they finish crisping up as they cool slightly.
 Save
Save There was an afternoon when my daughter helped me bread each ring by hand, and we laughed every time one fell into the oil with a satisfying sizzle. She ate three straight from the paper towels before I could even plate them, and that's when I realized these aren't just snacks—they're little moments of joy that happen to be delicious.
The Batter Secret
The combination of cornstarch and baking powder is what separates homemade from mediocre. The cornstarch creates a shatteringly crisp exterior that feels almost delicate to bite through, while baking powder adds just enough lift that the inside stays fluffy and tender. I learned this after making soggy batches with flour alone, and I've never looked back.
Customizing Your Rings
Want to push things further? A pinch of cayenne pepper in the batter gives you a gentle heat that builds with each bite, or try adding fresh herbs like dried thyme or oregano for something unexpected. I've also had success with beer instead of sparkling water—the yeast adds a subtle depth that's oddly perfect.
Serving and Storage
Serve them immediately while they're still warm and crispy, because they soften pretty quickly once they cool. Dip them in ranch, ketchup, spicy mayo, or even malt vinegar if you're feeling adventurous. If you somehow have leftovers, reheat them in a 350°F oven for 5 minutes to restore the crunch.
- Make the batter fresh each time—it's only five minutes of work and tastes noticeably better than pre-made mixes.
- Use a kitchen thermometer to nail that 350°F temperature; guessing will disappoint you every time.
- Don't crowd the pan—give each ring space to fry evenly or you'll end up with a tangled, uneven mess.
 Save
Save There's something magical about pulling homemade onion rings from hot oil that no restaurant can replicate. They're crispy, they're warm, and they taste like you actually cared, which you did.
Recipe Questions & Answers
- → How do I achieve extra crispy onion rings?
Using cold sparkling water or cold beer in the batter helps create a lighter, crispier coating. Additionally, dredging the battered rings in panko breadcrumbs before frying adds extra crunch.
- → What oil temperature is best for frying onion rings?
Maintain the oil temperature at around 350°F (175°C) to ensure even cooking and a crispy exterior without absorbing too much oil.
- → Can I make the batter spicy?
Yes, adding a pinch of cayenne pepper or paprika to the batter provides a subtle spicy kick that complements the sweetness of the onions.
- → What are good dipping sauces to serve with onion rings?
Popular options include ranch dressing, ketchup, spicy mayo, or even barbecue sauce to enhance the flavor experience.
- → Is there a gluten-free alternative for the batter and coating?
Substitute the all-purpose flour and panko breadcrumbs with gluten-free flour and gluten-free breadcrumbs to make the dish suitable for gluten intolerance.
- → How thick should the onion slices be cut?
Slice onions approximately 1/2-inch thick to ensure they hold shape while frying and cook evenly through the batter.