 Save
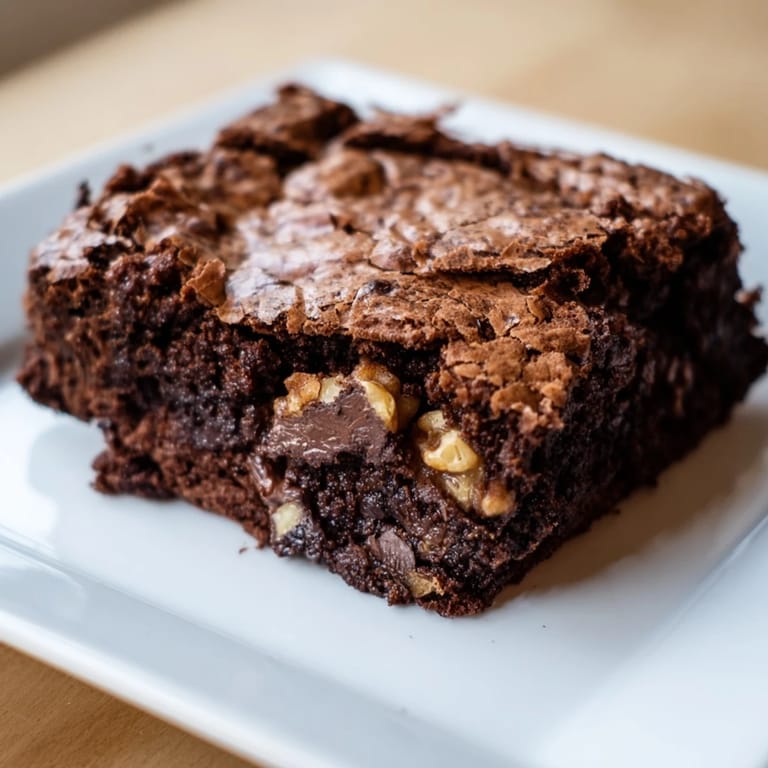
Save There's a particular kind of quiet that settles into the kitchen when you're melting chocolate and butter together—a moment where everything slows down and you're just watching it transform into something glossy and inviting. I stumbled onto these brownies during a phase where I was convinced homemade was always better than box mix, and honestly, that conviction stuck. The first batch I made was a little underbaked because I got impatient, but that happy accident became the whole point: fudgy, almost gooey in the middle, with edges that crackle when you bite them. Now I make them whenever I need to remember why I love baking in the first place.
I brought a batch of these to a friend's place on a rainy afternoon, and we ended up sitting on the kitchen counter eating them straight from the pan while talking about nothing important. That's when I realized these weren't just brownies—they were the kind of thing that makes people linger, that gives you an excuse to slow down. The cocoa powder in the dry ingredients adds this subtle depth that keeps people coming back for that second piece, even when they swore they wouldn't.
Ingredients
- Semi-sweet chocolate (170 g / 6 oz), chopped: Chopping it yourself means it melts faster and more evenly than chips would, and you get better chocolate flavor in every bite.
- Unsalted butter (115 g / 1/2 cup): This is your base for richness; salted butter will throw off the balance, and clarified butter will make them greasy.
- Granulated sugar (200 g / 1 cup): The workhorse that gives structure and sweetness without overpowering the chocolate.
- Light brown sugar (50 g / 1/4 cup), packed: This adds moisture and a subtle molasses note that deepens everything.
- Large eggs (2): Room temperature eggs blend better and create a more uniform crumb; cold eggs can seize the chocolate slightly.
- Vanilla extract (1 tsp): A small amount that whispers in the background rather than announces itself.
- All-purpose flour (80 g / 2/3 cup): Measure by weight for accuracy; too much flour and they'll taste cakey instead of fudgy.
- Unsweetened cocoa powder (30 g / 1/4 cup): This is essential for that sophisticated chocolate depth—Dutch-process cocoa gives a richer color and slightly different flavor than natural cocoa.
- Salt (1/4 tsp): The secret ingredient that makes chocolate taste more chocolatey and rounds out the sweetness.
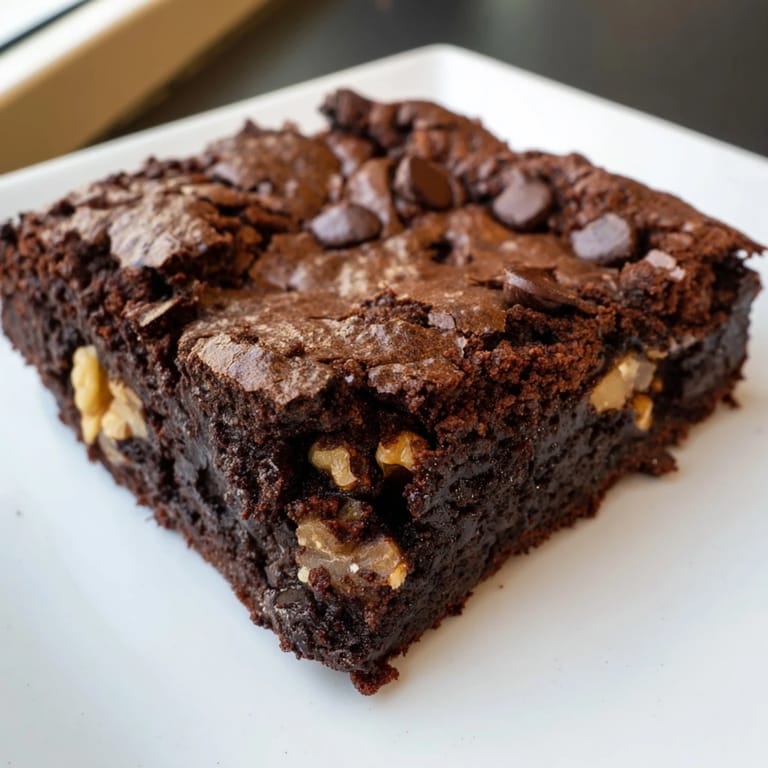
- Walnuts or pecans (100 g / 2/3 cup), chopped (optional): Toasting them first brings out nutty flavor, but raw works fine if you're in a hurry.
- Chocolate chips (100 g / 2/3 cup) (optional): For people who think chocolate can never be excessive; semi-sweet chips stay softer than dark chocolate here.
Tired of Takeout? 🥡
Get 10 meals you can make faster than delivery arrives. Seriously.
One email. No spam. Unsubscribe anytime.
Instructions
- Heat your oven and prep your pan:
- Preheat to 175°C (350°F) and line your 20 cm square pan with parchment paper, letting it overhang the edges so you can lift the whole thing out later without wrestling it. This step takes two minutes but saves you from frustration at the end.
- Melt the chocolate and butter together:
- Combine them in a medium saucepan over low heat, stirring every now and then until everything is smooth and glossy. The low heat matters here because scrambled chocolate is nobody's friend; once it's melted, pull it off the heat and let it cool for a minute or two so the eggs don't scramble when you add them.
- Stir in the sugars until combined:
- This is where it starts to feel real, watching the mixture become thicker and more paste-like as the sugar dissolves slightly into the warm chocolate. You're not looking for perfectly dissolved sugar, just incorporated.
- Add the eggs one at a time:
- Mix thoroughly after each egg goes in; this ensures they blend completely rather than creating streaks of raw egg through the batter. Pour in the vanilla after the second egg is fully incorporated.
- Fold in the flour, cocoa powder, and salt gently:
- Sift them together first if you have a sifter, or just combine them in a small bowl, then add them to the chocolate mixture. Fold with a spatula using gentle strokes—the goal is just to combine, not to develop gluten, which would make them tough instead of tender.
- Fold in add-ins if you're using them:
- Nuts or chocolate chips go in now, distributed evenly through the batter with just a few more gentle folds.
- Pour into your pan and smooth the top:
- A quick scrape with a spatula gets the batter level and ensures even baking across the whole pan.
- Bake until a toothpick comes out with moist crumbs:
- This takes 22 to 28 minutes depending on your oven; a toothpick poked into the center should come out with fudgy crumbs stuck to it, not be completely clean. They'll continue cooking slightly as they cool, so it's better to underbake a little than overbake.
- Cool completely before cutting:
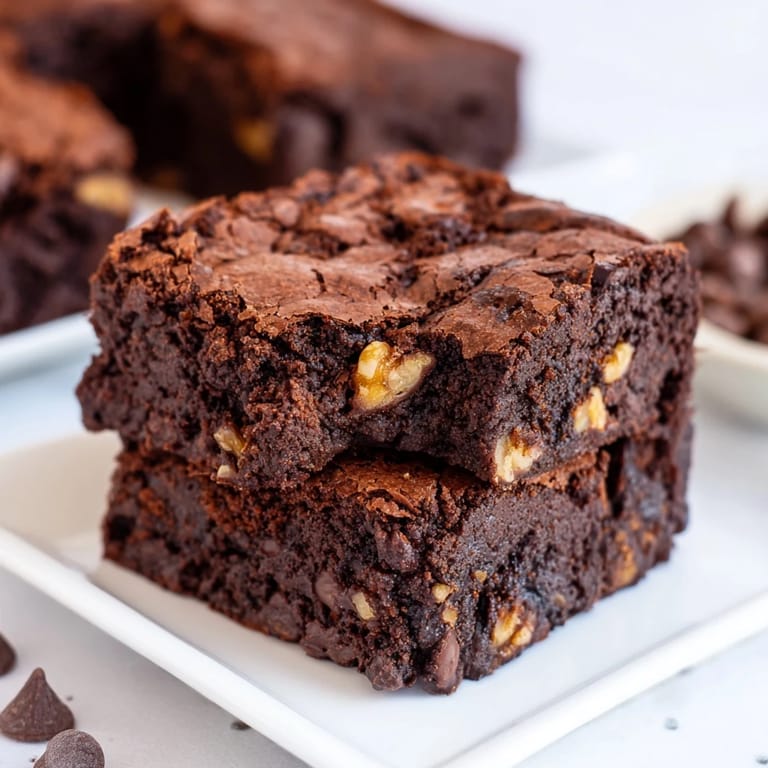
- This is where patience pays off; cutting them warm will result in crumbly edges, but letting them cool in the pan gives them time to set up properly. Once they're completely cool, lift out the parchment and use a sharp knife to cut them into 16 squares.
 Save
Save The moment I figured out that letting these cool completely before cutting was non-negotiable happened on a day when I was too eager and sliced into a warm pan—the edges fell apart, the middle was too soft to cut cleanly, and I ended up with brownies that looked like they'd been through a blender. The next time I made them and actually waited, I understood what the recipe was trying to do all along. Patience made everything beautiful.
Storage and Make-Ahead Tips
These brownies get better the next day when the flavors have settled and the texture becomes almost velvety. Keep them in an airtight container at room temperature for up to five days, or wrap them individually and freeze them for up to three months. I've reheated frozen brownies by wrapping them loosely in foil and warming them in a 150°C oven for about five minutes, which brings back that just-baked quality without drying them out.
Variations and Substitutions
Once you've made these a few times and understand how they work, you can start playing around. I've replaced half the all-purpose flour with whole wheat flour for earthier brownies, or added espresso powder to deepen the chocolate flavor without changing anything else about the recipe. For a nut-free version, just skip the nuts entirely or add dried cherries or cranberries instead—the moisture content is similar enough that nothing else needs adjusting. Dark chocolate instead of semi-sweet makes them more sophisticated and less sweet, which some people prefer but I find sometimes overwhelms the buttery richness.
Serving Ideas and Pairings
The simplest way is still the best: a square of brownie with a cold glass of milk or a hot cup of coffee, where you get that contrast between the fudgy chocolate and the temperature of whatever you're drinking. But they're also perfect warm with vanilla ice cream melting into all the crevices, or crumbled into a bowl with whipped cream and fresh berries for something that feels more elegant than it actually is. I've even seen people use them as the base for brownies à la mode sundaes, or layer them in a trifle with chocolate mousse.
- Pair with strong coffee or espresso for an afternoon break that feels indulgent.
- Top with ice cream within five minutes of serving so it catches the residual warmth.
- Dust with powdered sugar if you want something that looks more refined than it needs to.
 Save
Save There's something grounding about making brownies from scratch, about the smell of melting chocolate filling the kitchen and knowing exactly what's going into something you're about to eat. They're the kind of simple thing that reminds you why you started cooking in the first place.
Recipe Questions & Answers
- → How can I achieve a fudgier texture?
Underbaking slightly and chilling before cutting helps retain moisture and create a rich, fudgy texture.
- → Can I substitute nuts with other ingredients?
Dried fruit or omitting nuts altogether works well, maintaining a pleasant texture and flavor balance.
- → What is the best way to melt the chocolate and butter?
Gently melt over low heat while stirring until smooth to avoid burning and ensure even consistency.
- → How do I know when the squares are done baking?
Insert a toothpick; a few moist crumbs sticking indicate the perfect bake without drying out the squares.
- → What pan size is ideal for these squares?
An 8-inch square pan lined with parchment creates the right thickness and allows easy removal after baking.