 Save
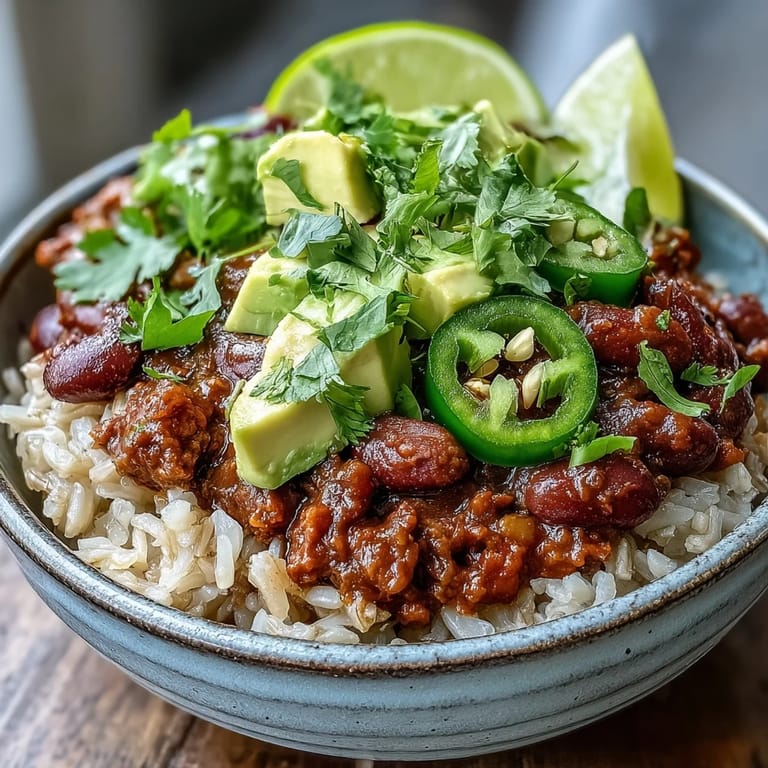
Save There's something about a pot of chili simmering on the stove that makes a kitchen feel alive. Years ago, I made this bowl on a random Tuesday afternoon when the weather turned cool, not really thinking it would become such a staple in my rotation. My roommate came home to the smell of cumin and tomatoes filling the hallway, and before I'd even finished cooking, she was pulling bowls from the cabinet. That moment taught me that the best recipes aren't always the ones you plan—they're the ones that show up when you need comfort most.
I made this for a small dinner party last winter, and watching people build their own bowls with their choice of toppings felt like hosting a celebration rather than just cooking dinner. Someone asked for extra jalapeños, another person skipped the cheese entirely, and one friend piled on cilantro so generously it became its own main ingredient. That's when I realized this chili wasn't just food—it was permission for everyone at the table to eat exactly what they wanted.
Ingredients
- Olive oil: Start with quality oil because you'll taste it in those early moments when the onions hit the pan.
- Onion and garlic: These are your flavor foundation, so don't skip the browning step or rush through the sautéing.
- Bell peppers (red and green): They add sweetness and color, and using both varieties gives you a more complex flavor profile than choosing just one.
- Ground beef: Choose 80/20 if you prefer more flavor, though leaner meat works fine if that's what you have.
- Tomato paste: This concentrate adds depth that fresh tomatoes alone cannot deliver.
- Diced tomatoes: Canned is perfectly fine here and actually more convenient than fresh.
- Kidney beans and black beans: Each brings different texture and earthiness—using both creates better mouthfeel than relying on one type.
- Corn kernels: This is your hidden sweetness that balances the spices and heat.
- Chili powder, cumin, smoked paprika, oregano: These spices work together like a band, each one essential to the final sound.
- Salt, black pepper, cayenne: Taste as you go because heat preference is personal, and you can always add more but cannot take it out.
- Beef or vegetable broth: This liquid keeps everything moving while the flavors meld together.
- Rice or grains: Cook these separately so they stay fluffy and don't absorb all the chili liquid.
- Toppings: Keep these optional ingredients on hand because the choice to customize makes every bowl feel fresh.
Tired of Takeout? 🥡
Get 10 meals you can make faster than delivery arrives. Seriously.
One email. No spam. Unsubscribe anytime.
Instructions
- Heat your oil and start with the onion:
- Pour olive oil into a large pot over medium heat and let it shimmer slightly before adding diced onion. You'll know it's ready when the onion starts releasing its sweet aroma within the first minute.
- Build the flavor base:
- After the onion softens (about 2 to 3 minutes), add minced garlic and both bell peppers, cooking for another 3 to 4 minutes until everything becomes tender and fragrant. This is where your kitchen starts to smell like something good is happening.
- Brown the meat:
- Add your ground beef to the vegetables and cook it, breaking it up with a wooden spoon, until it's completely browned with no pink remaining. This takes about 5 to 7 minutes and is one of those moments where patience pays off in flavor.
- Deepen with tomato paste:
- Stir in tomato paste and let it cook undisturbed for about 1 minute, allowing it to caramelize slightly against the pot. This single minute transforms the paste from raw to rich.
- Build the chili:
- Add your diced tomatoes, both kinds of beans (drained and rinsed), corn, all your spices, salt, pepper, and cayenne if using heat. Stir everything together until the spices are evenly distributed and the pot looks like actual chili.
- Simmer and let flavors marry:
- Pour in your broth, bring everything to a simmer, then reduce heat to low, cover partially, and let it bubble gently for 25 to 30 minutes. Stir occasionally and taste as it cooks, adjusting seasoning as needed.
- Prepare your grain base:
- While the chili simmers, cook your rice or grains according to package directions so everything finishes around the same time. Timing this correctly means everything arrives at the table warm and ready.
- Assemble and serve:
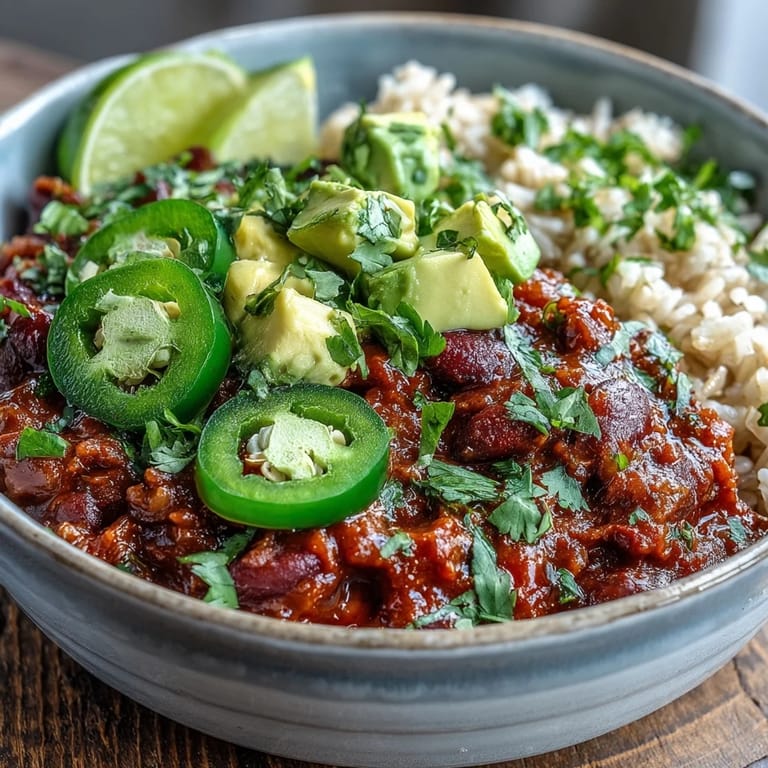
- Spoon warm rice or grains into bowls, ladle the chili generously over top, then let people choose their own toppings. This moment of assembly is part of the meal's pleasure.
 Save
Save I learned something important the night my neighbor knocked on my door asking what I was making, drawn by the smell alone. We ended up eating dinner together at my kitchen counter, and she told me this chili reminded her of her grandmother's cooking, though it looked nothing like what she described. That's when I understood that comfort food transcends exact replicas—it's about the feeling you create, and this bowl seems to unlock that for people.
Customization Without Compromise
One of the greatest strengths of this chili is how it handles modifications without losing its identity. I've made it vegetarian by swapping ground beef with crumbled tofu or extra beans, I've switched grains from rice to quinoa or farro, and I've played with spice levels from mild to genuinely warming. Each version tastes different but unmistakably like itself, which means you're never forced into a corner by dietary preferences or what's in your pantry.
Make-Ahead Magic
This chili might actually taste better the next day after the spices have had time to settle and deepen. I've made it on Sunday afternoons and eaten it throughout the week, each reheating session bringing new flavor complexity. You can refrigerate it for up to four days or freeze individual portions, making this one of those recipes that rewards you for cooking ahead.
The Topping Station Strategy
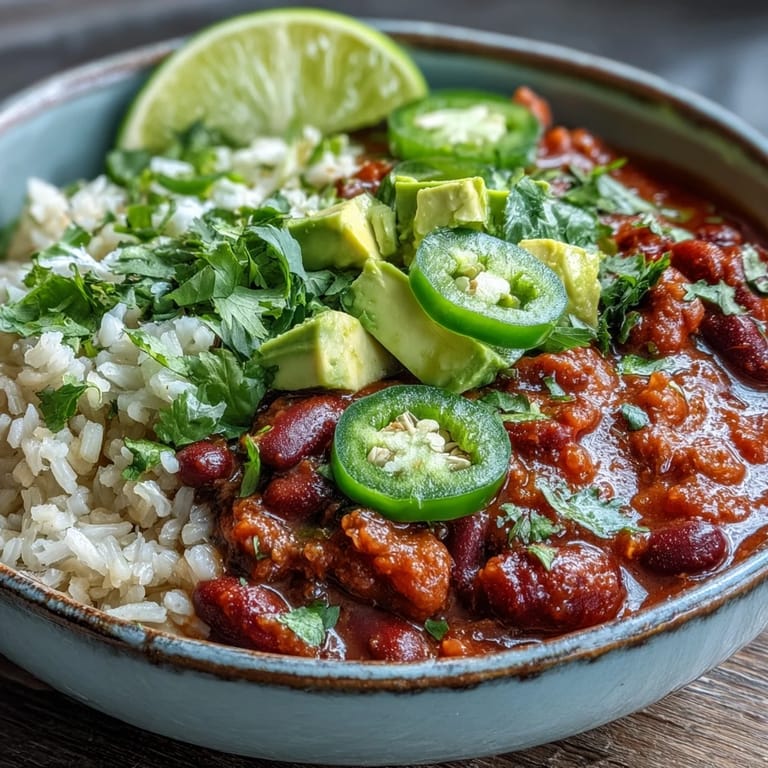
Setting out your optional toppings transforms this from a simple dinner into an experience where everyone feels involved in their meal. I learned this when cooking for a larger group and realizing that the act of choosing toppings actually makes people slow down and enjoy what they're eating more intentionally. Arrange shredded cheese, sour cream or Greek yogurt, green onions, cilantro, diced avocado, jalapeño slices, and lime wedges in small bowls and let people build their perfect version.
- Lime wedges are not optional—a squeeze of acid brightens everything and is the secret weapon of this entire bowl.
- Cold sour cream or Greek yogurt against hot chili creates a textural contrast that feels almost luxurious.
- If you're feeding people with different heat preferences, jalapeños as a topping means everyone controls their own spice level without complaint.
 Save
Save This chili has become the recipe I make when I want to cook something that feels both nourishing and celebratory, the kind of dish that works for a quiet Tuesday night or a gathering of friends. Every time I make it, someone asks for the recipe, and I realize it's not the complexity they're after—it's the feeling of being cared for that a warm, spiced bowl of comfort seems to deliver.
Recipe Questions & Answers
- → Can I make this vegetarian?
Yes, substitute the ground beef with plant-based ground meat alternative or add extra beans and vegetables for protein.
- → How can I adjust the spice level?
Reduce or omit the cayenne pepper for milder flavor, or add extra chili powder and cayenne to increase the heat to your preference.
- → What grains work best as a base?
White and brown rice are classic choices, but quinoa, farro, bulgur, or barley also work wonderfully for added texture and nutrients.
- → How long does this keep in the refrigerator?
Stored in an airtight container, the chili keeps well for 4-5 days. The flavors often develop and improve after a day or two.
- → Can I freeze this chili?
Absolutely. Let it cool completely, then freeze in portioned containers for up to 3 months. Thaw overnight in the refrigerator before reheating.